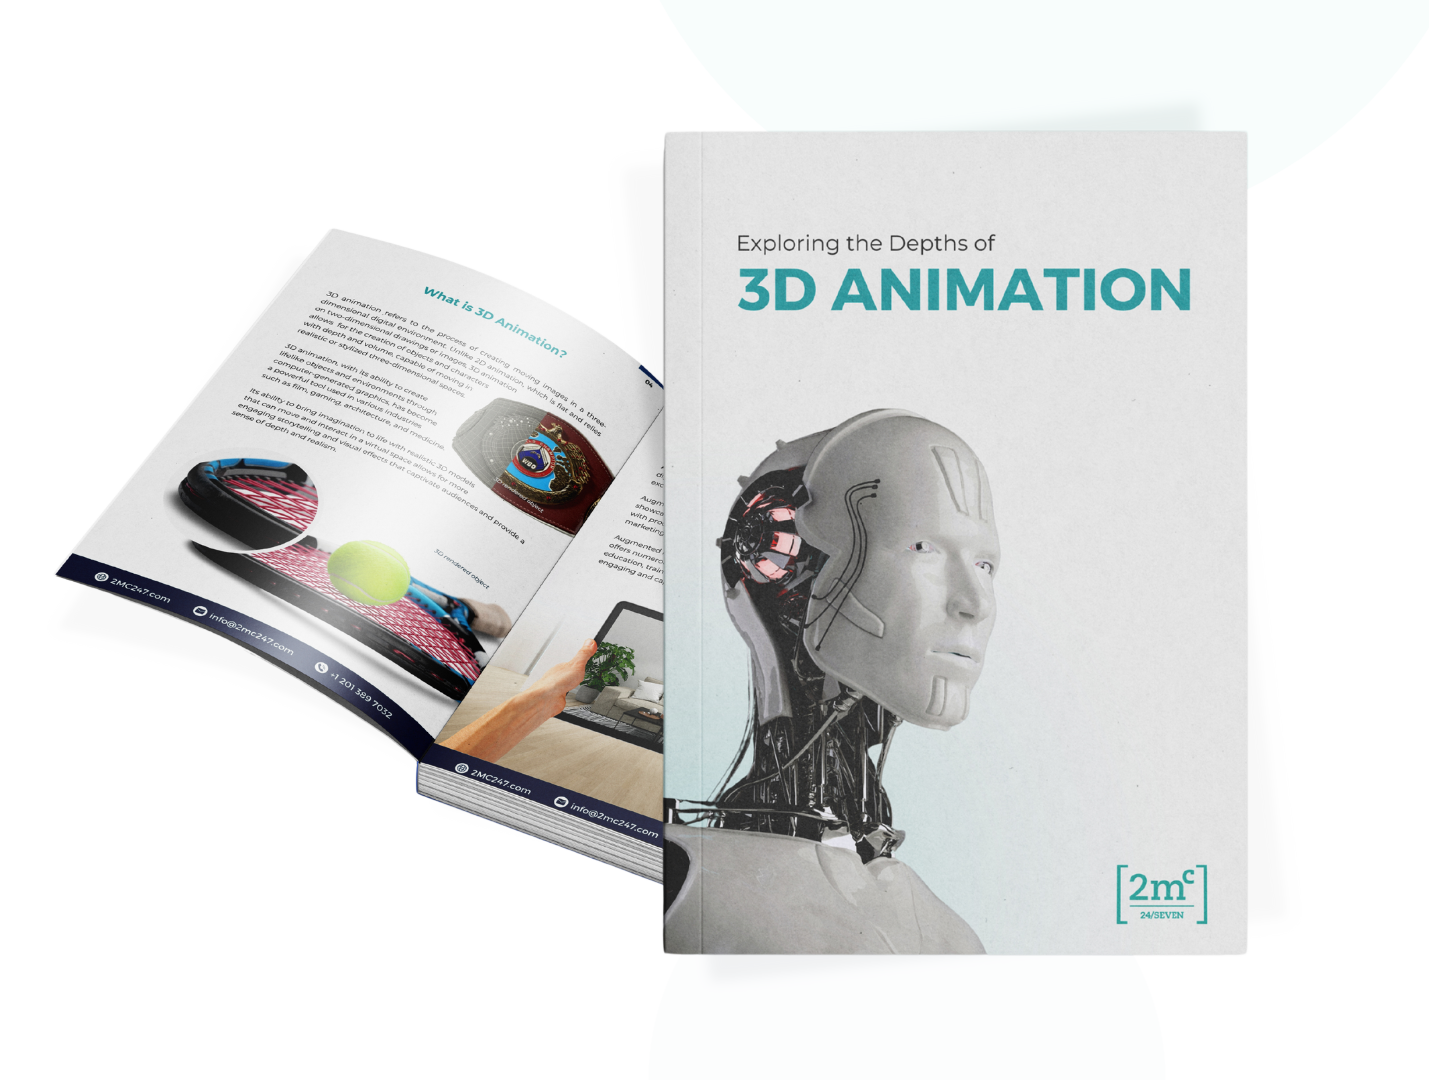

Creating flawless 3D renders is essential in industries like architecture, retail, interior design, and product visualization. Whether you’re working on a high-end commercial project or refining an e-commerce product showcase, mastering the art of 3D rendering ensures that your visuals captivate and convert. To achieve the best results, follow these five easy steps to perfection.

1. Start with a Detailed 3D Model
A high-quality 3D render begins with an optimized 3D model. Ensure your model has:
- Correct geometry – Avoid unnecessary polygons to maintain performance and smoothness.
- Accurate proportions – Maintain real-world dimensions to enhance realism.
- Efficient topology – A clean mesh will make texturing and lighting easier.
Using professional modeling software like Blender, 3ds Max, or SketchUp can make a difference in achieving precision.
2. Perfect Your Textures and Materials
Textures and materials bring realism to your renders. To achieve a natural look:
- Use high-resolution textures for sharpness and detail.
- Apply realistic reflections and roughness maps for accurate material effects.
- Ensure proper UV mapping to avoid distortions and stretching.
Substance Painter and Photoshop are great tools for refining texture quality.

3. Master the Lighting Setup
Lighting defines the mood and realism of your render. Here’s how to get it right:
- Use HDRI environments for natural reflections and depth.
- Apply three-point lighting (key, fill, and rim light) to enhance object definition.
- Adjust light intensity and color temperature to match the scene’s atmosphere.
Experimenting with different lighting setups in V-Ray, Arnold, or Unreal Engine can bring your render to life.
4. Optimize Your Camera Angles and Composition
A perfect 3D render isn’t just about technical quality—it’s also about storytelling.
- Use the rule of thirds for balanced composition.
- Adjust depth of field (DOF) to create focus and realism.
- Select dynamic perspectives to enhance visual appeal.
Cinematic camera angles can make a render more engaging and immersive.
5. Fine-Tune with Post-Processing
Post-processing enhances details and corrects minor flaws. Use:
- Color correction and grading for visual consistency.
- Sharpening and denoising filters to improve clarity.
- Subtle effects like bloom or lens flares to add depth.
Software like Adobe Photoshop, After Effects, or Davinci Resolve can polish your final render to perfection.

Achieve Perfection with Professional 3D Rendering Services
While these five steps can drastically improve your 3D renders, achieving true perfection requires expertise, time, and the right tools. At 2MC 24/7, we specialize in high-quality 3D rendering services tailored for global brands. Whether you need photorealistic product images, architectural visualizations, or immersive 3D experiences, our team delivers efficiency, precision, and brand consistency.
Let’s bring your vision to life. Contact us today to get started!