3D Product Visualization
In today’s digital world, if a customer can not see images of your product – in detail and in lifestyle scenes, in the customers mind that product doesnt exits.
In the digital landscape, in one sense the pictures of the product really is the product. Your visual content may be the only way your customer ever “see’s” the product before he / she buys it. Your visual content- the photos and images of your products are the most powerful tool and heavily influence a customer’s perception of your products. If you’re looking to showcase your products in a highly realistic and visually appealing way, 3D product visualization is faster, more flexiable, more accurate and less expensive that tradditional photography.

What is 3D Product Visualization?
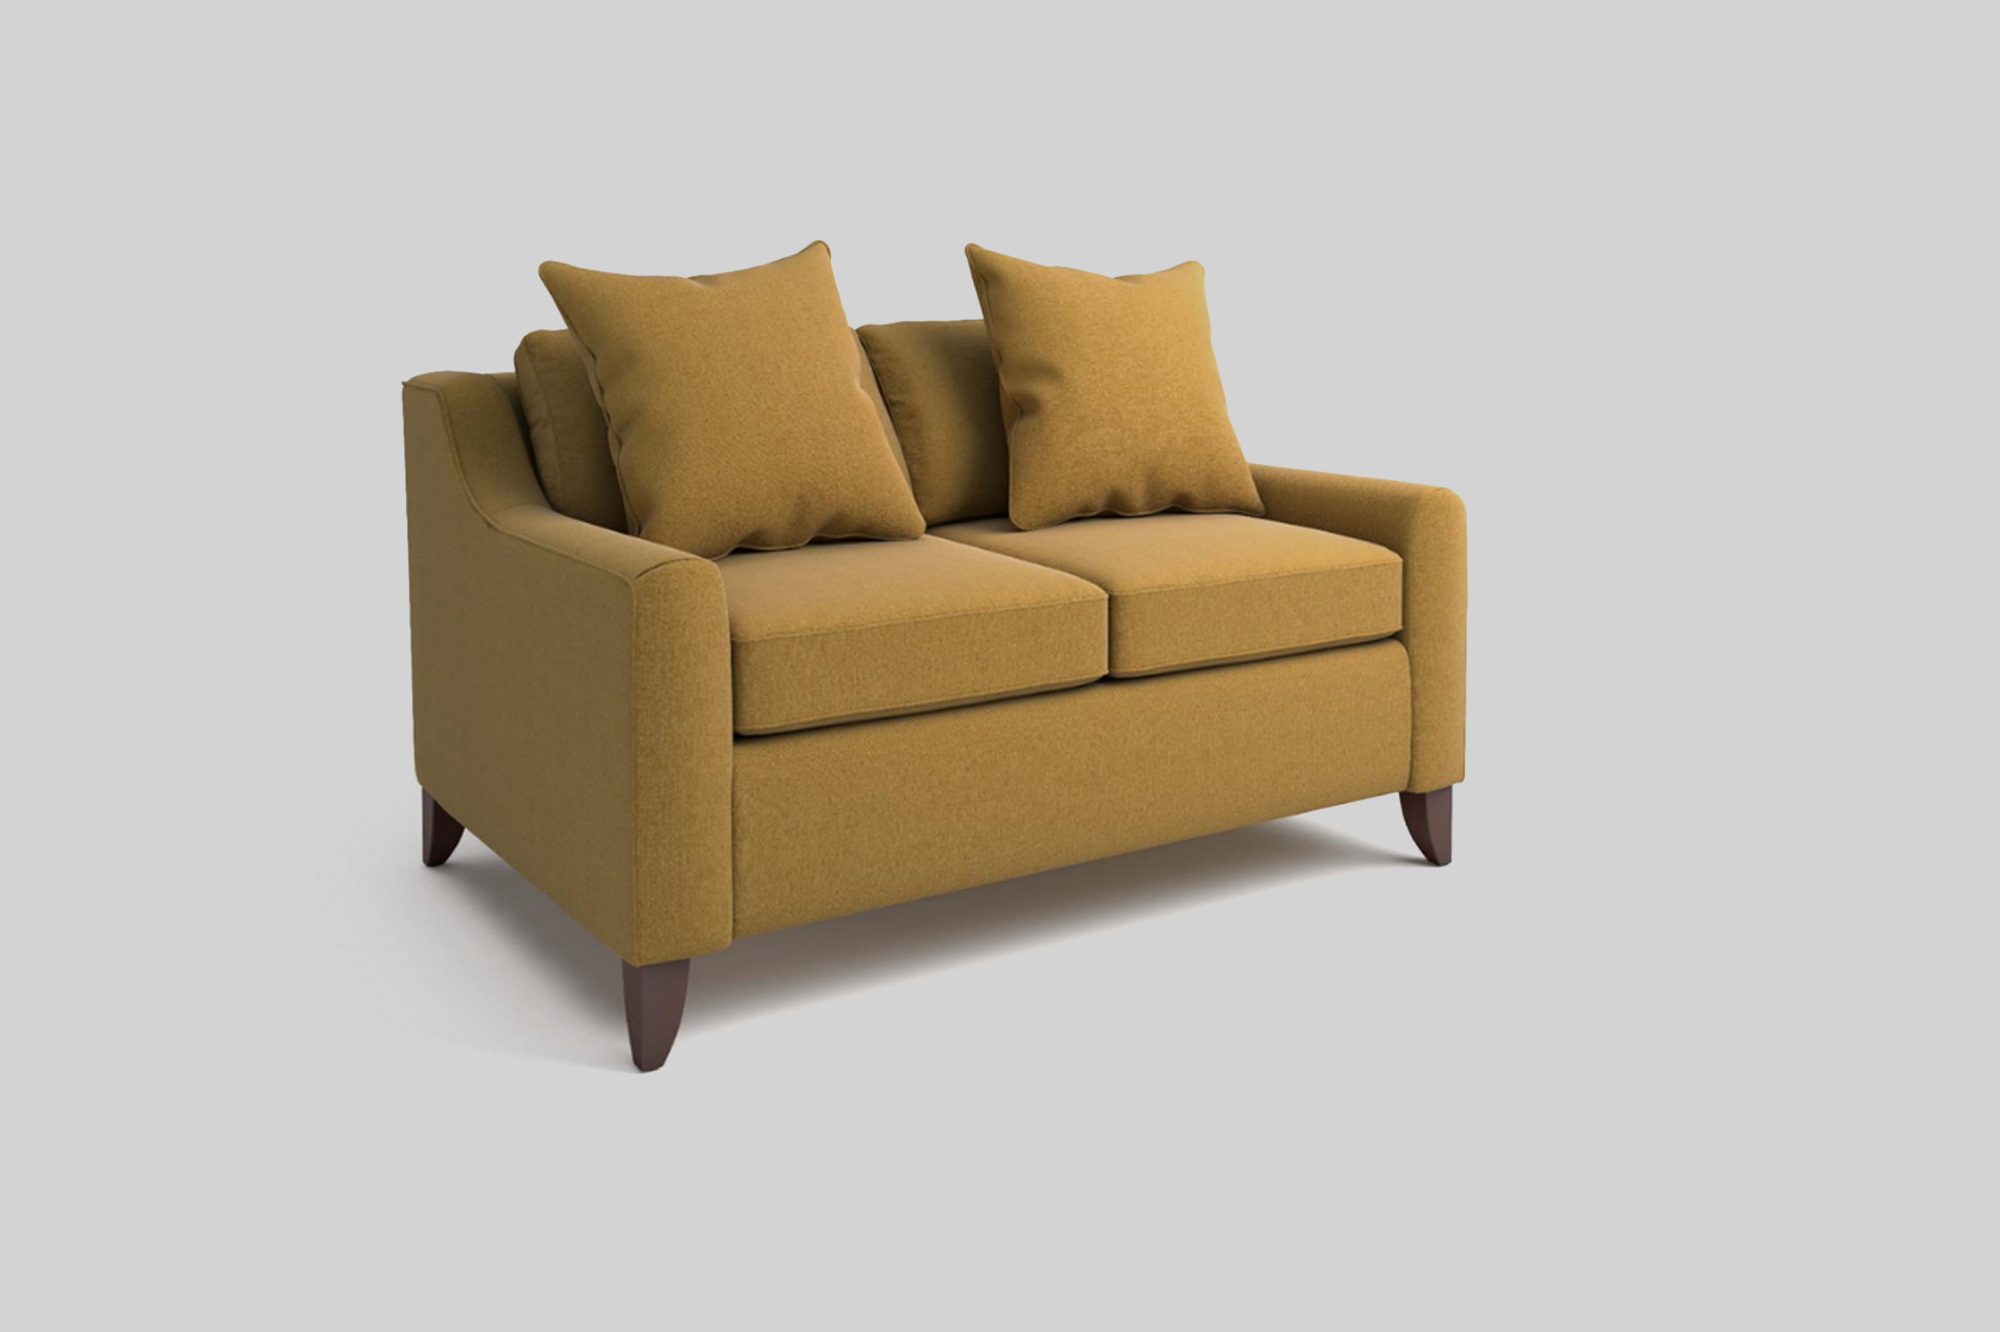
It involves building a 3D digital version, or model, of your product using specialized computer software. This perfect model can be used to produce visual content for your website, including product photos, lifestyle images, and as well as videos, animations and even a product configurator.
At its core, 3D product visualization is a flexible service that allows you to create photos as well as AR and VR services based on a accurate perfectly realistic digital model of your product. Using your existing photos, CAD drawings, descriptions, or any other resources you have available we make a 3D model for you. Using the 3D model we can create 3D product visualizations, which means you never have to schedule studios or hire traditional photographers, post-production, or styling teams again. Your product and lisestyle photos can now be made using 3D Visulization.
How does 3D Product Visualization make you more profit?

How Does it Work?
The process starts with us collecting information about your product, such as drawings, sketches, etc during our free consultation and discovery call.
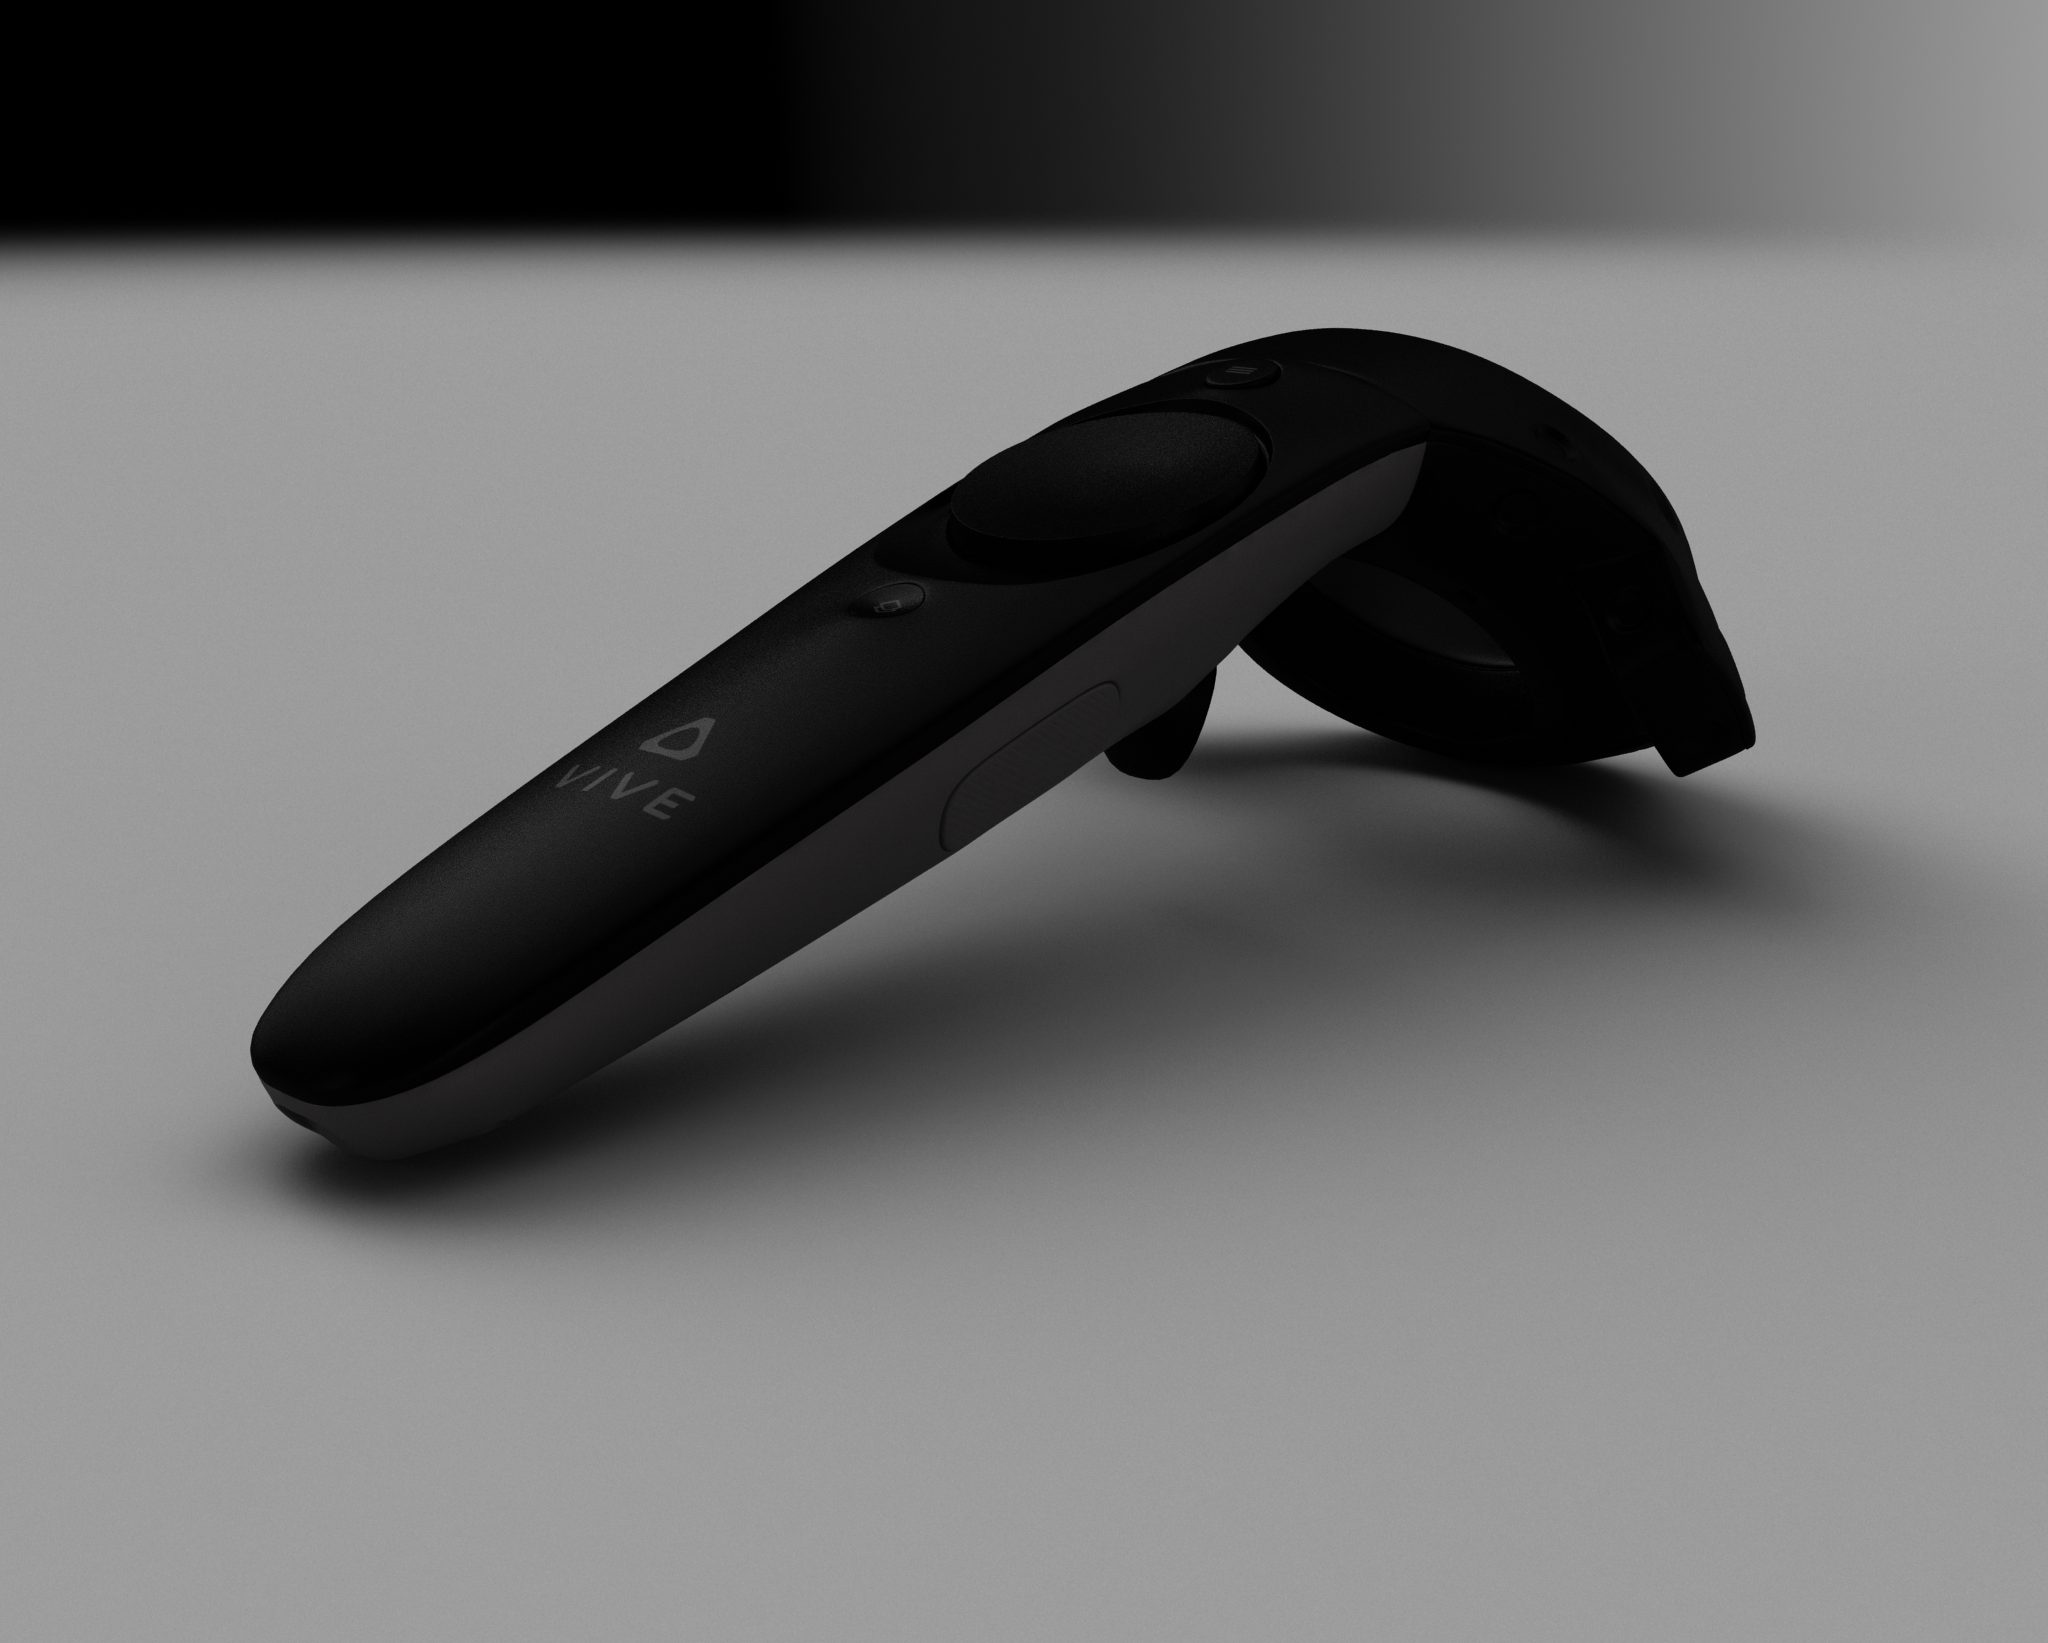
Expert 3D modelers will then use this information to create a digital replica of your product or idea. Once the model is complete, exact textures and colors are added to make the product look 100% realistic and totally life like.
Now we can use the digital model to create various marketing materials, such as product photos and lifestyle images or for use in AR and VR applications and 3D animation as well as videos.
What Do You Need to Supply?
To make the process as seamless as possible, we recommend providing as much information about your product or idea as you can. The more information you can provide, the better, faster and more accurately we can create beautiful images for you.
However, we understand that sometimes you may not have a lot of data to supply. If that’s the case, don’t stress! We’ll work with whatever you can give us, but the more you can provide the faster it is for us to create what you need.
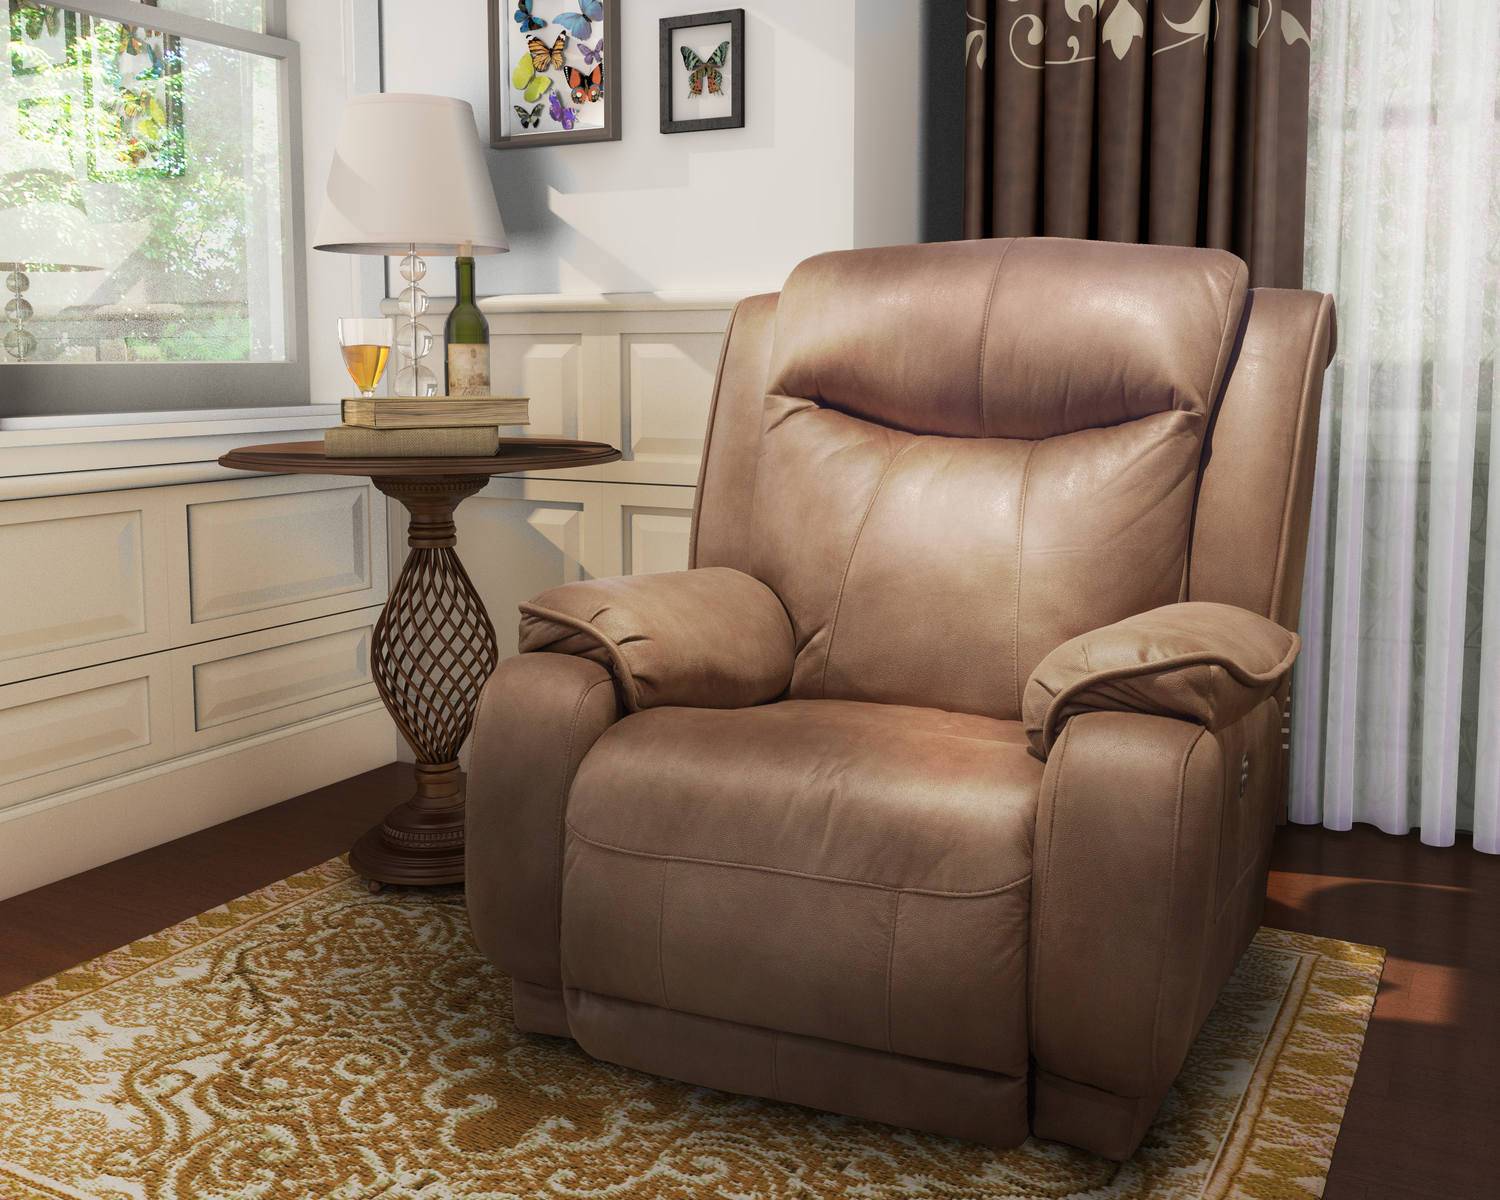
Here are the list of things that you need to supply us
01
High resolution Photographs of the product showing the product details. Photos taken from a few angles are useful, with a clear scale placed alongside the product (like a ruler) and white color balance (often just a white piece of paper). These photos can be taken anywhere as the background is unimportant, even the factory floor is fine.
02
Exact dimensions, especially for any curves, corners and difficult places like sofa arms etc. We also need to understand the product angles for example how chair legs are angled from the seat etc..
03
CAD or engineering drawings are always useful. A physical item or swatch is great or soft copy files of details can be great. All details help us understand how the product appears in real life.

01
Details of all the fabrics and finishes used on the product where they appear and what direction they run in.
02
03

- A photo showing a full pattern repeat. This is vital. Some fabrics don’t have a pattern but for patterned fabrics we need to see the full pattern repeat in a single shot.
- A scale (usually a ruler) placed next to the fabric to understand physical size.
- A white balance (a piece of paper) or color chart next to the fabric to understand colors.
- All fabric should be stretched out and shot top-down with the fabric as flat as possible to eliminate folds and creases.
- If the fabric has a sheen or shine, or any kind of reflective thread/appearance, we need to have a few photos where the fabric is shot at an angle with lighting from different directions so that the reflective nature of the fabric can be seen in the photo.
OUR PROCESS FOR 3D VISUALIZATION
To provide you with stunning 3D visualizations, we follow our proven process that we have spent 15+ years creating and refining. At a high-level, our process is:
This discussion helps us to understand the Scope Of Work (SOW) of your project. It’s at this stage that we help you define exactly what you need so that our team can get started.
- We will produce a shoot list showing all the outputs you require as a database.
- With an approved SOW we create an estimated timeline and cost quote.
- Gather all the product details for fabrics, textures and the actual products so we can create the model(s).
- Once we understand your needs and the basic scope of work, we conduct a live test to make sure we understand the correct outputs for your project.
- Once the live test is approved we create a Style Guide, which will guide the project through the production phase, getting additional client feedback as needed.
- We issue a deposit invoice, based on the agreed SOW, style guide and timeline.
- Once the project test phase is approved and style guide is approved full production begins on all the required models and visualizations.
- Final product visualizations are sent to you for approval.
- Once approved, the final invoice for payment is sent.

How Long Will it Take to Get Your 3D Visuals / Photos?
Some Examples are:
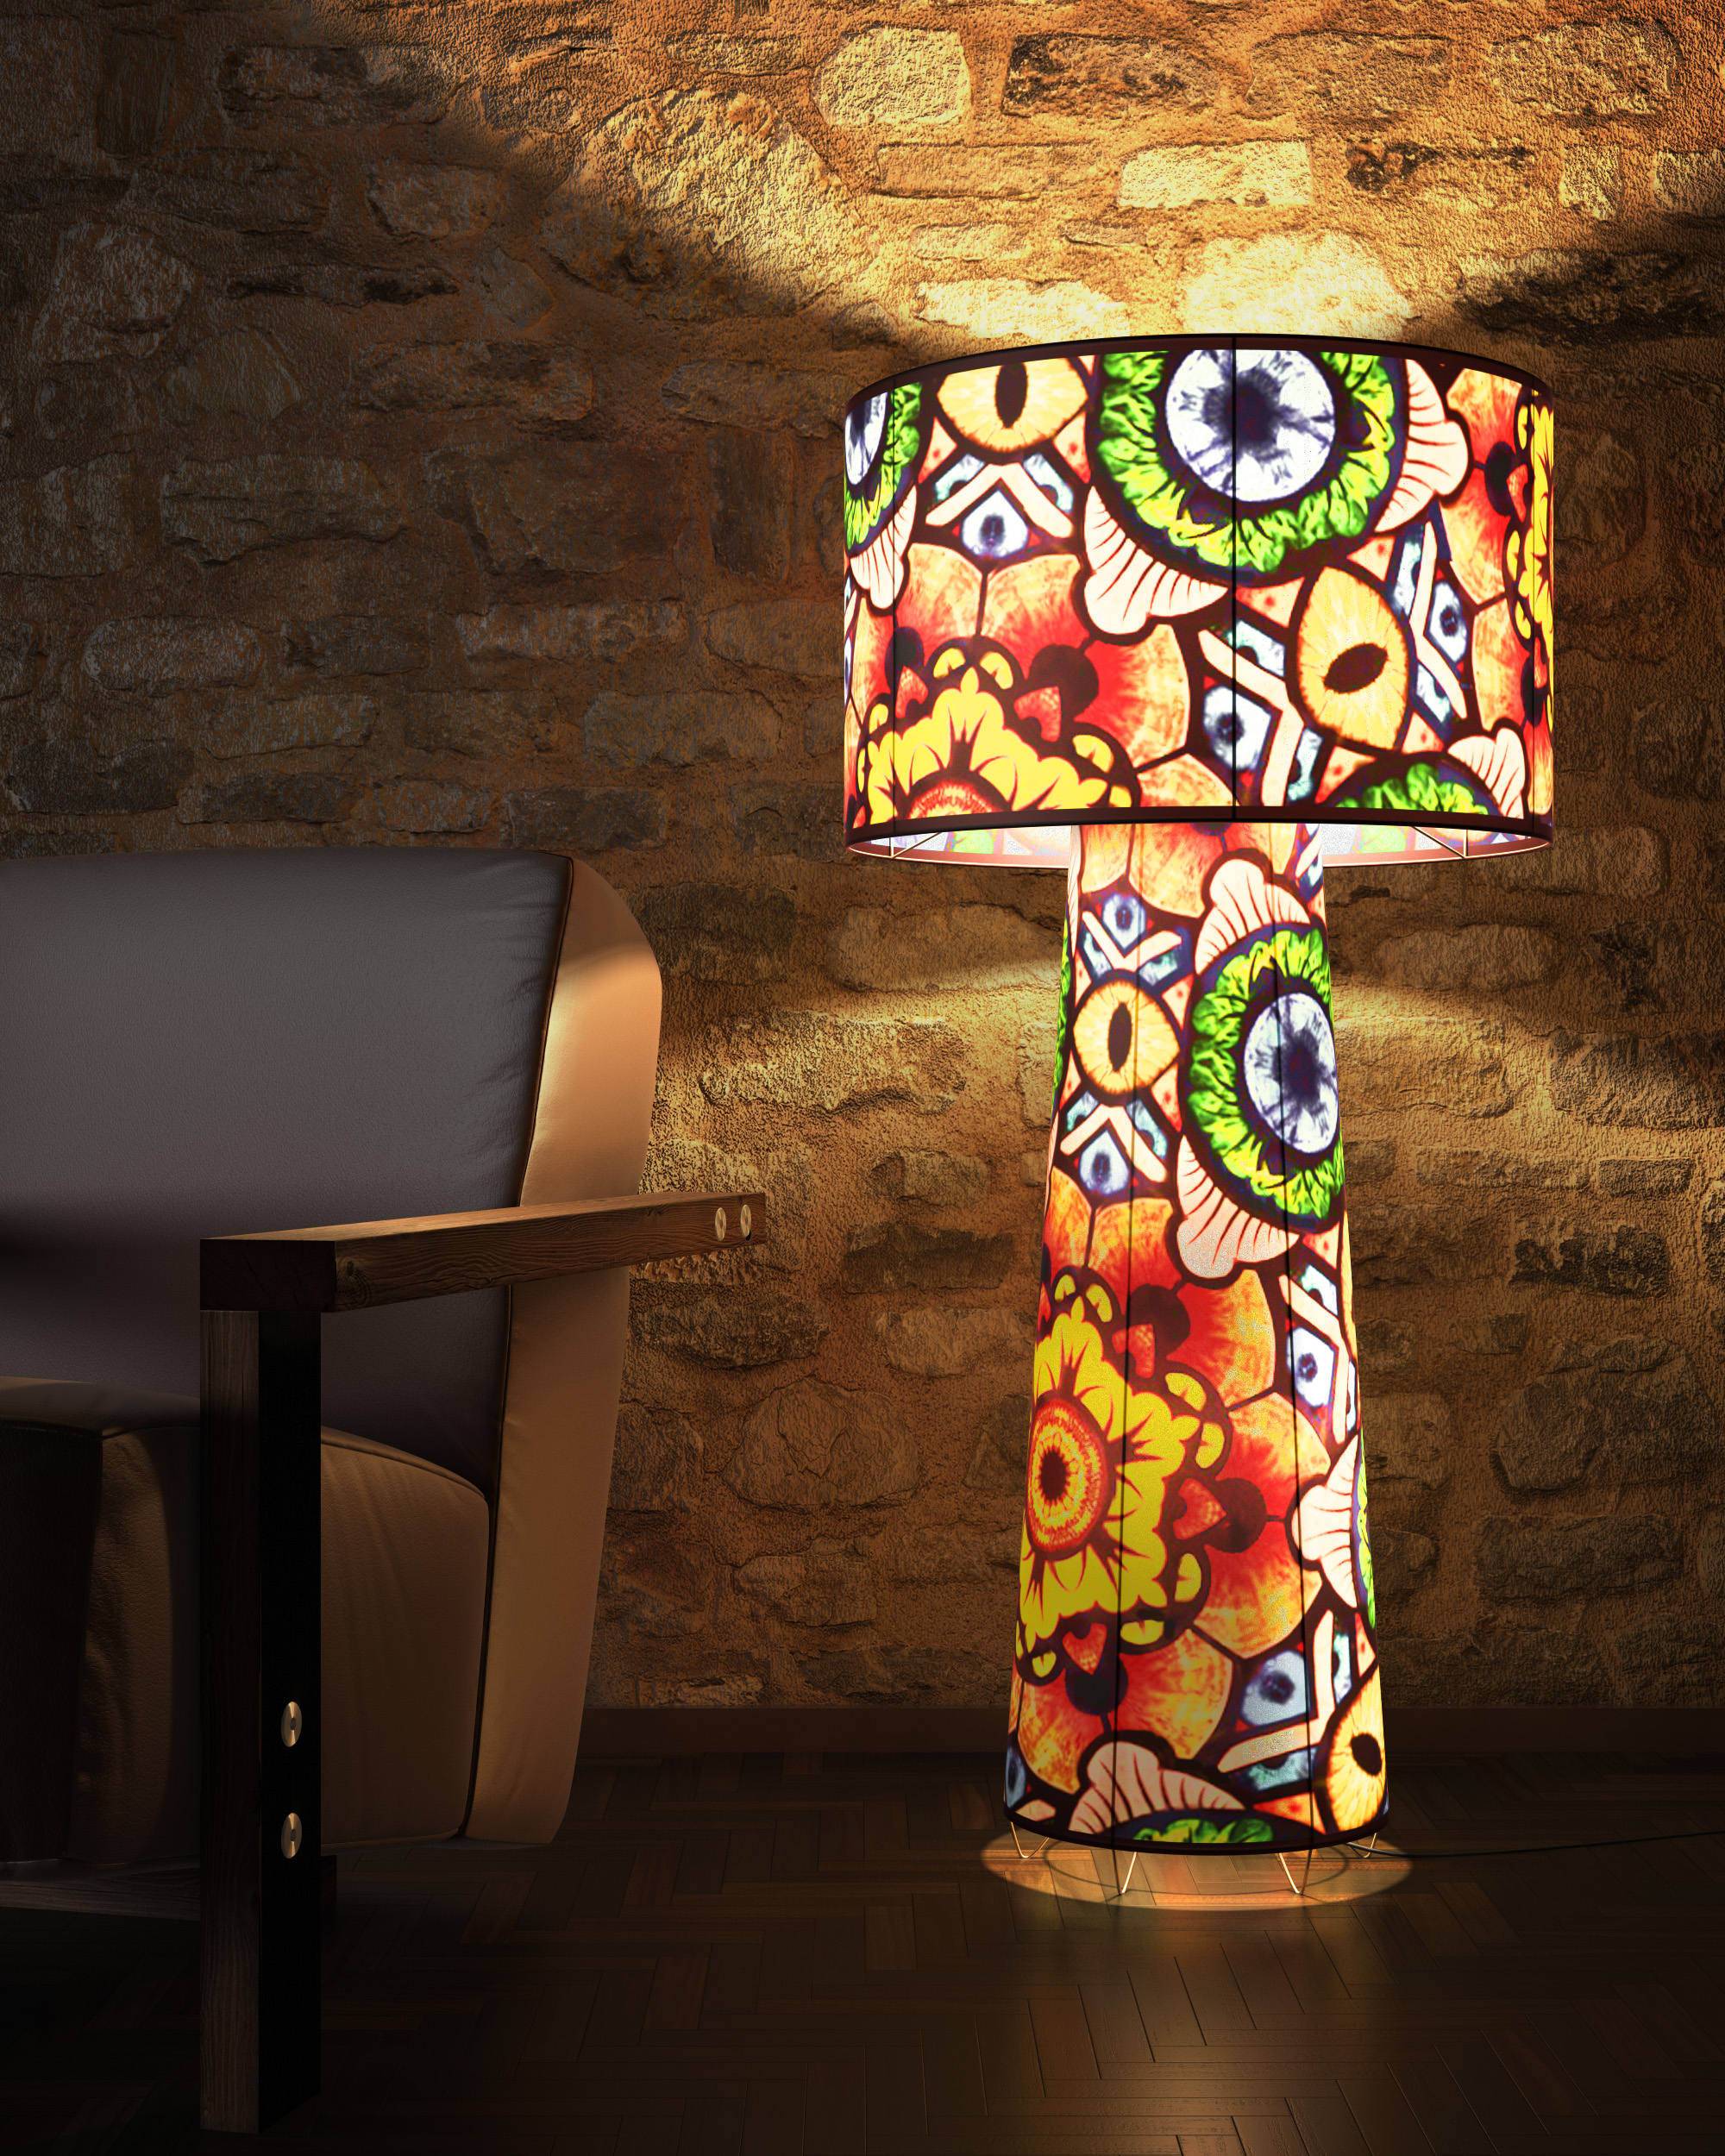
Simple models, such as a lamp, can take as little as 3-5 hours to create.

Slightly more complex models, such as a sofa set in specific environments, can take 5-10 hours to make.

Larger, more complex models, like the interior designs of a house with its accompanying furniture and lamp sets, can take 20+ hours to get the model right.
How Much Does it Cost?
The cost of the project will also depend on the scope of the project and the complexity of the product. Simple models, such as a straight edge table, may cost as little as $100, while medium complex models, such as an upholstered chair, may cost between $200-$300. Really complex models, such as a piece of engineering equipment or medical device, can cost upwards of $500 or more. There will also be an additional cost for every photo that is reproduced from the model. Product photos typically cost between $10-$50 per image, but costs can increase for more complex scenes or larger projects.
